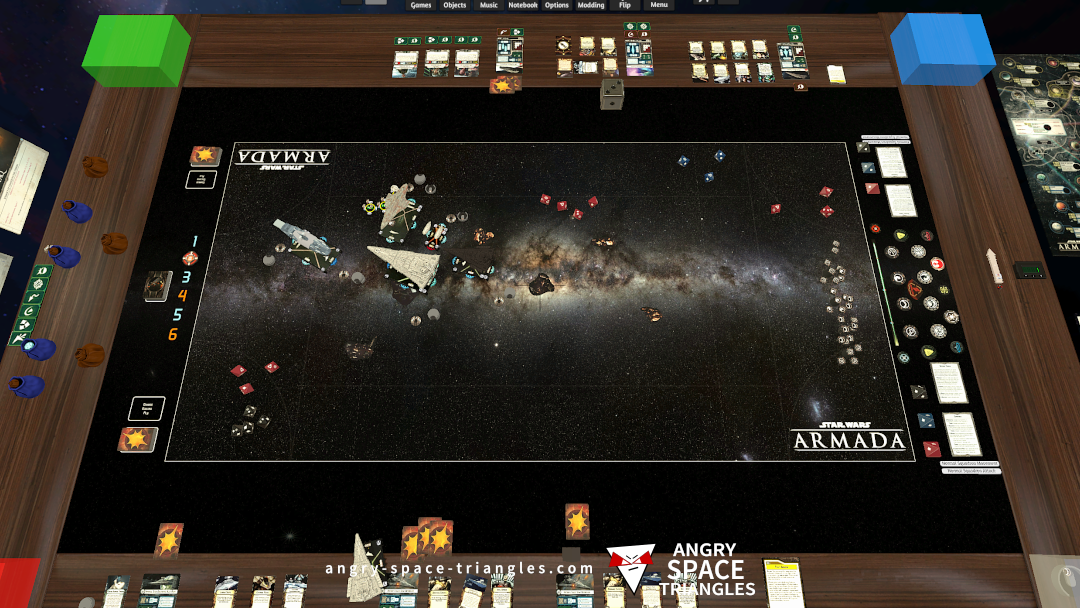
Star Wars Armada – Battle Report 2 – We’re Jammin’
A battle between Rebels and Imperials. Jerjerrod vs Madine. A fighter-heavy engagement with use of TIE phantoms and Jamming Fields.
Once inside, she carefully unwrapped the paper to reveal a small, leather-bound book. The cover was worn and smooth to the touch, and the pages were yellowed with age. As she opened the book, Ava was surprised to find that it was filled with handwritten stories and poems, each one more beautiful than the last.
A battle between Rebels and Imperials. Jerjerrod vs Madine. A fighter-heavy engagement with use of TIE phantoms and Jamming Fields.
Our first battle running stuff from wave 6.
We see a Light Carrier, Hammerhead and Disposable Capacitors getting a try-out.

Some commentary on Battle Report 4 concerning Warlord, Captain Jonus, Biggs Darklighter and more.

A write up of interesting observations and learning from my most recent Star Wars Armada battle.
– Jamming Fields
– Suppressor
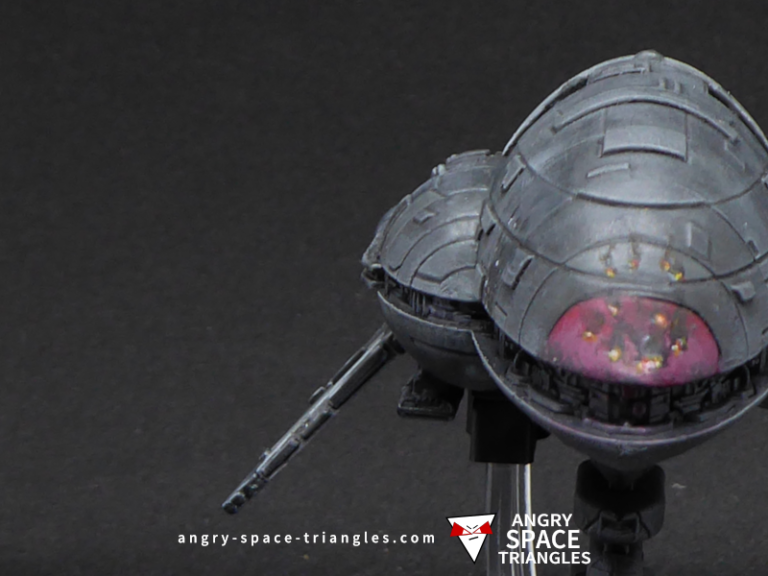
– TIE Phantoms
– E-WIngs
A Rebel Assault frigate that I rescued and painted up in grey. Extensive usage of dry-brushing for highlights.

A recently painted squadron of Rebel Fighters for Star Wars Armada. A-Wings, Y-Wings, B-Wings and X-Wings.